
My first attempt at BUILDING A FLASK AND A FLASK PATTERN
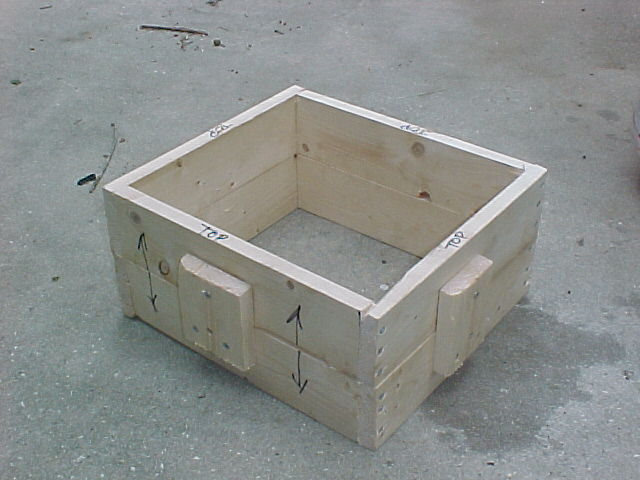
OK...its not rocket science...I took some 1x4 pine boards, cut them down to make a frame, to make a 12"x12" square. I couldn't find my rightangle clamps so I just screwed them together as best possible (in other words, it isn't square!!). I put some wood tabs on the sides so it would always only fit together one way and I added some marker lines just to assist. I had a can of red spray paint in the garage so I sealed the wood against moisture with left over paint. Eh...its so so and really needs some internal ridges or holes so the sand can 'grip' the flask interior wall.....I'll probably revisit the flask build later and make something abit more durable.
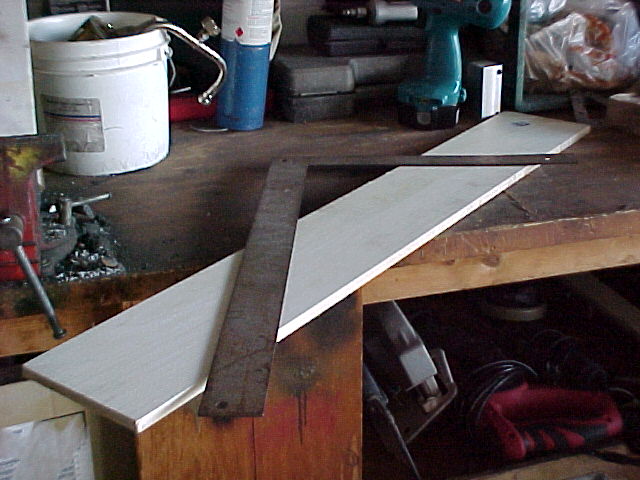
So, using the cheezy pine flask above I started to make a wooden pattern that I planned to cast into aluminum for some reusable flasks about 5x7 inches of interior space. I started with this nice piece of spruce plank, 3/8"in x 4" x 36" in. and measured out the cuts to make the parts. Remember...measure twice, cut once.
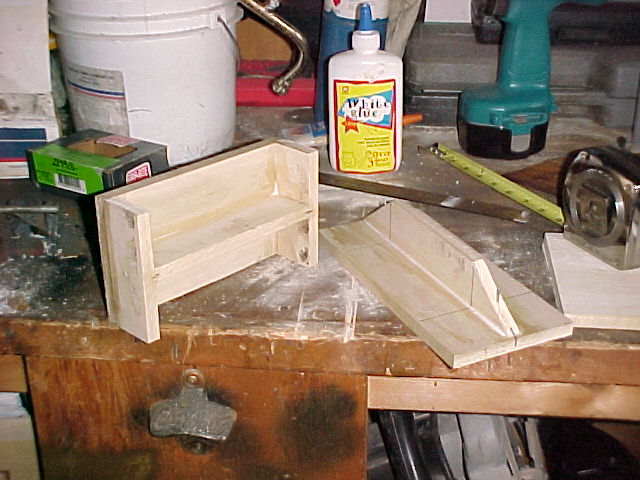
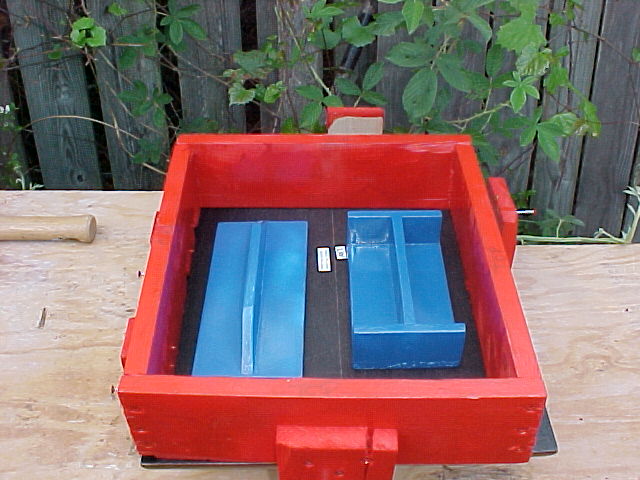
Trying to be clever I made my pattern so I could cast one side panel and one end panel in each pour. The ends would slip over the last 2 inches of the side panels and attach with 1/4 in bolts. That was the plan......I routed out the interior panel of the end and the side...you can kind of see it in the pictures. The idea was to give a space for the casting sand to pack into the flask thus becoming a stronger pack. Sounds good huh!
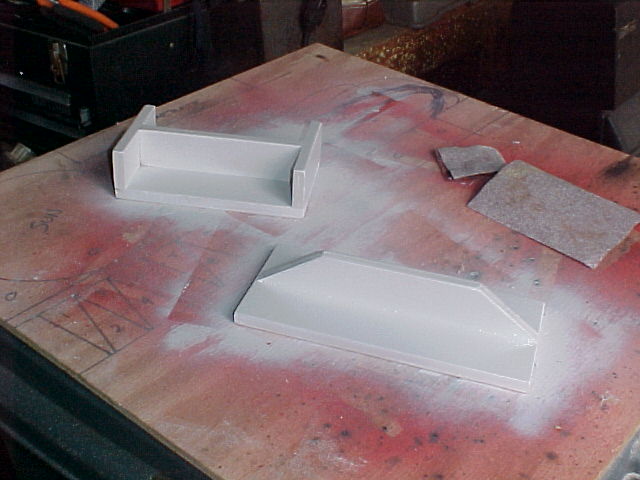
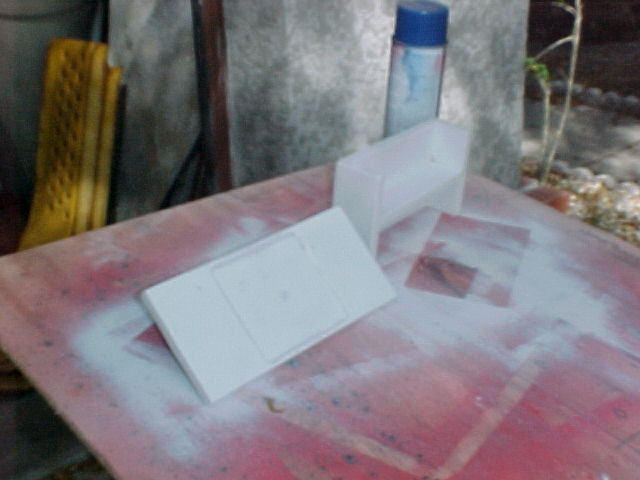
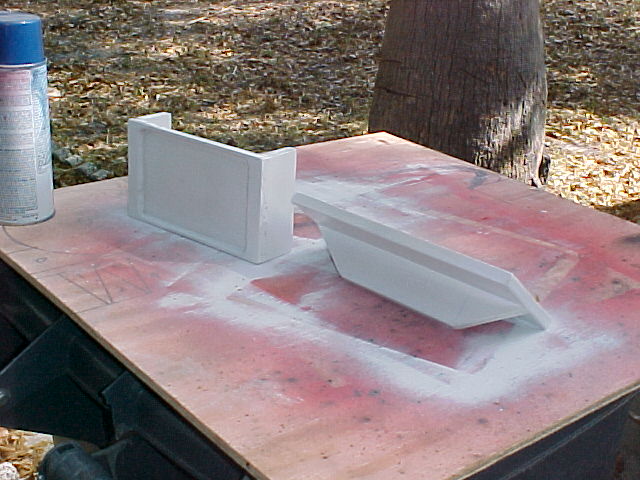
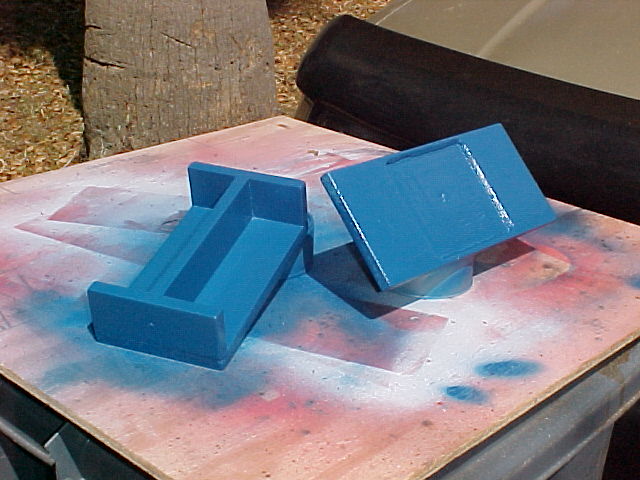
After sanding the wooden flask pattern pieces you should seal the wood so moisture from the sand and the environment stays out. I used old spray paint so any color didn't matter, first I used up some offwhite and finished up with some nice gloss blue. They really looked pretty and I still have them!
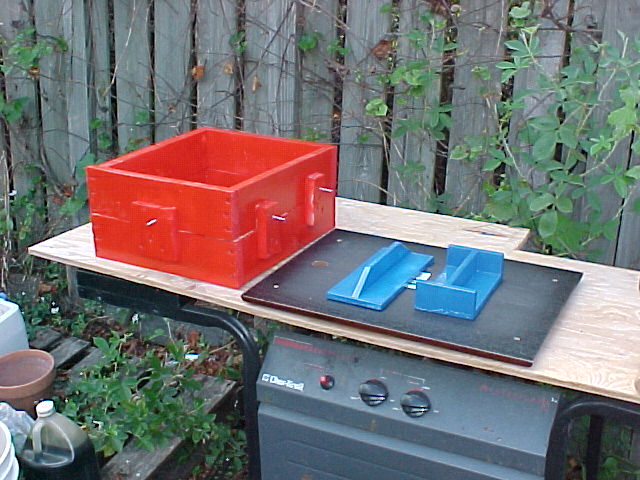
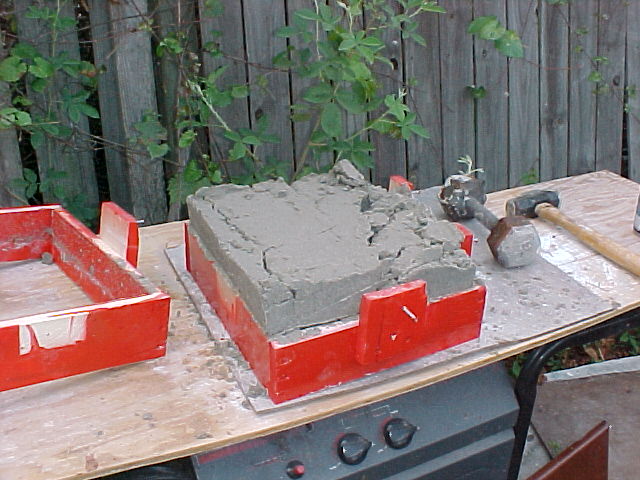
I recycled a neighbors old BBQ grill and made a poor mans sand workbench. Its simply plywood over the top of the grill frame after I removed the aluminum grill. I recycled the aluminum cast pieces. So on the table I have the cheezy flask, a piece of cabinet door that I am turning into a facing board to fill the flask on. On top of the facing board I have the two pattern pieces ready to be rammed up.
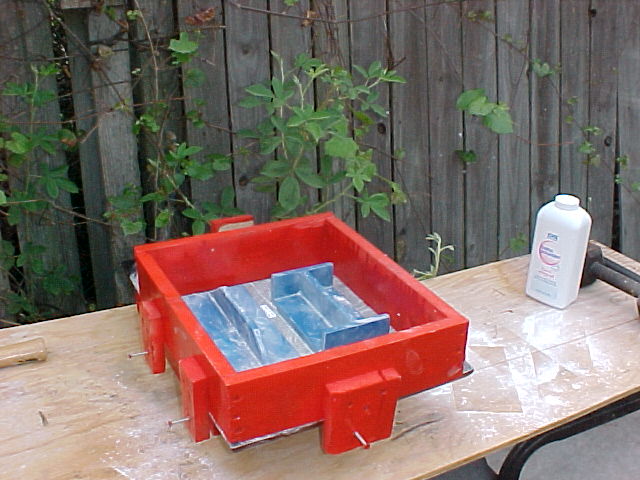
I use un-scented baby powder as a parting powder...it is 100% talc, the label states and it is used to allow you to remove the top part of the flask, with rammed sand, and ease the patterns out of the molding sand. It something you get to try over and over and I guess it gets simpler the more you experience it...hahahahah....
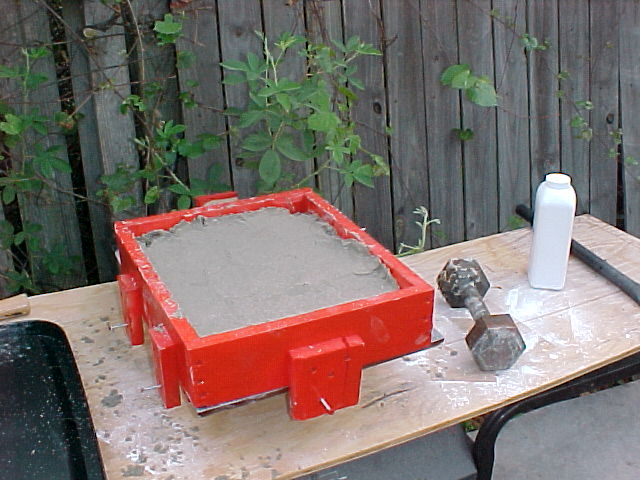
I gently sifted sand onto the patterns until they are covered then I poured a bit more sand into the Drag. Then I used my high tech rammer...a 3 lb. hammer and a 10 lb. barbell weight. I started by tamping the sand into the corners then around the patterns and finally all over the sand.

I keep adding casting sand until the flask drag is filled and rammed firmly. Then I used a straight edge board to scrape the sand flat. I put a piece of plywood over the rammed sand and then gently rolled the flask over.......
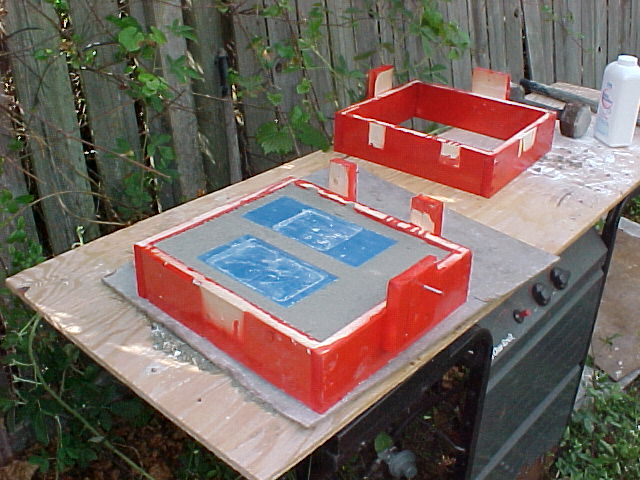
As you can see the patterns face is now exposed, and you can see the talc parting dust. Now I dust the whole face of the patterns and the sand and place the top part ( the Cope ) of the flask over the bottom ( Drag ) and gently sift sand over the patterns. The drag and cope halves have wooden guides to line it all up again, I even used screws to tighten the flasks up as I put them together. Adding sand, ramming, adding sand and ramming until I filled the top flask cope...I was feeling pretty good. The flask seemed to be working, the patterns looked cool when I flipped the drag...the parting dust looked good and finally filling the cope seemed to go OK....its time to lift the cope off of the drag so that we can tap and remove our wooden patterns for reuse...then we might be ready to prep for a aluminum pour.....
Except my sand strength was not very good...maybe too new...maybe too wet ( I think so )...or maybe not rammed well enough but as I tried to lift the cope off the sand all fell out....drats.
To Be Continued!!!

